The Complete Post-Renovation Cleaning Guide for Singapore Homes (2026)
By MyCleanHome · August 2026 · 12 min read
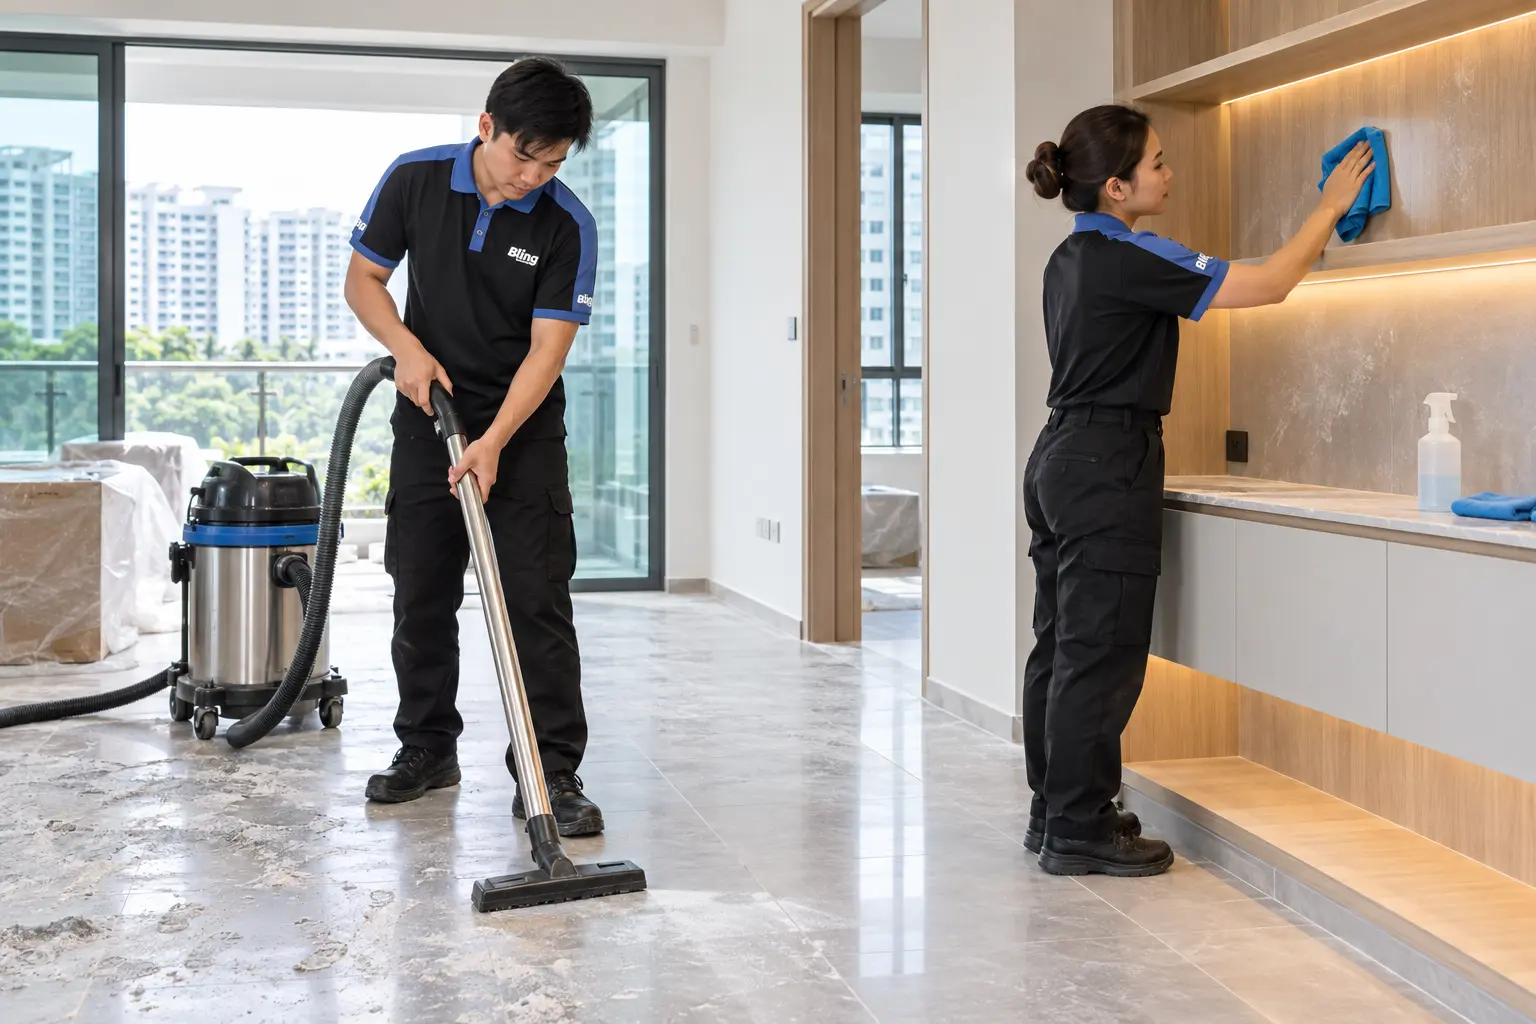
You've finally gotten the keys back from your contractor. The renovation is done — new tiles laid, carpentry completed, fresh paint on the walls. And then you look more closely.
There's a fine white dust on everything. Silicone smears on the floor-wall junction that weren't there during the site visit. Cement haze on the tile surfaces. Paint splatters on the window frames. The air conditioner trunking is caked in plaster dust. The kitchen hood, which was supposed to be installed clean, has construction grit inside it.
This is normal. It is also the problem that post-renovation cleaning exists to solve.
This guide covers everything Singapore homeowners need to know: what contractors typically leave behind, what post-renovation cleaning involves room by room, the health risks you need to be aware of, how to time the clean, and what to look for when hiring a professional cleaner.
In this guide:
1. What contractors typically leave behind
Post-renovation cleaning exists because construction work generates a specific category of mess that normal cleaning tools and methods can't handle. Here's what's almost universally left behind after a renovation in Singapore:
Cement and plaster dust
The fine particles generated by cutting tiles, drilling into concrete walls and plastering surfaces settle on every horizontal surface in the unit — and many vertical ones. This dust is not ordinary household dust. It's alkaline, abrasive and, in sufficient quantities, a respiratory irritant. It also looks invisible until you run a finger across a surface or catch it in a certain light.
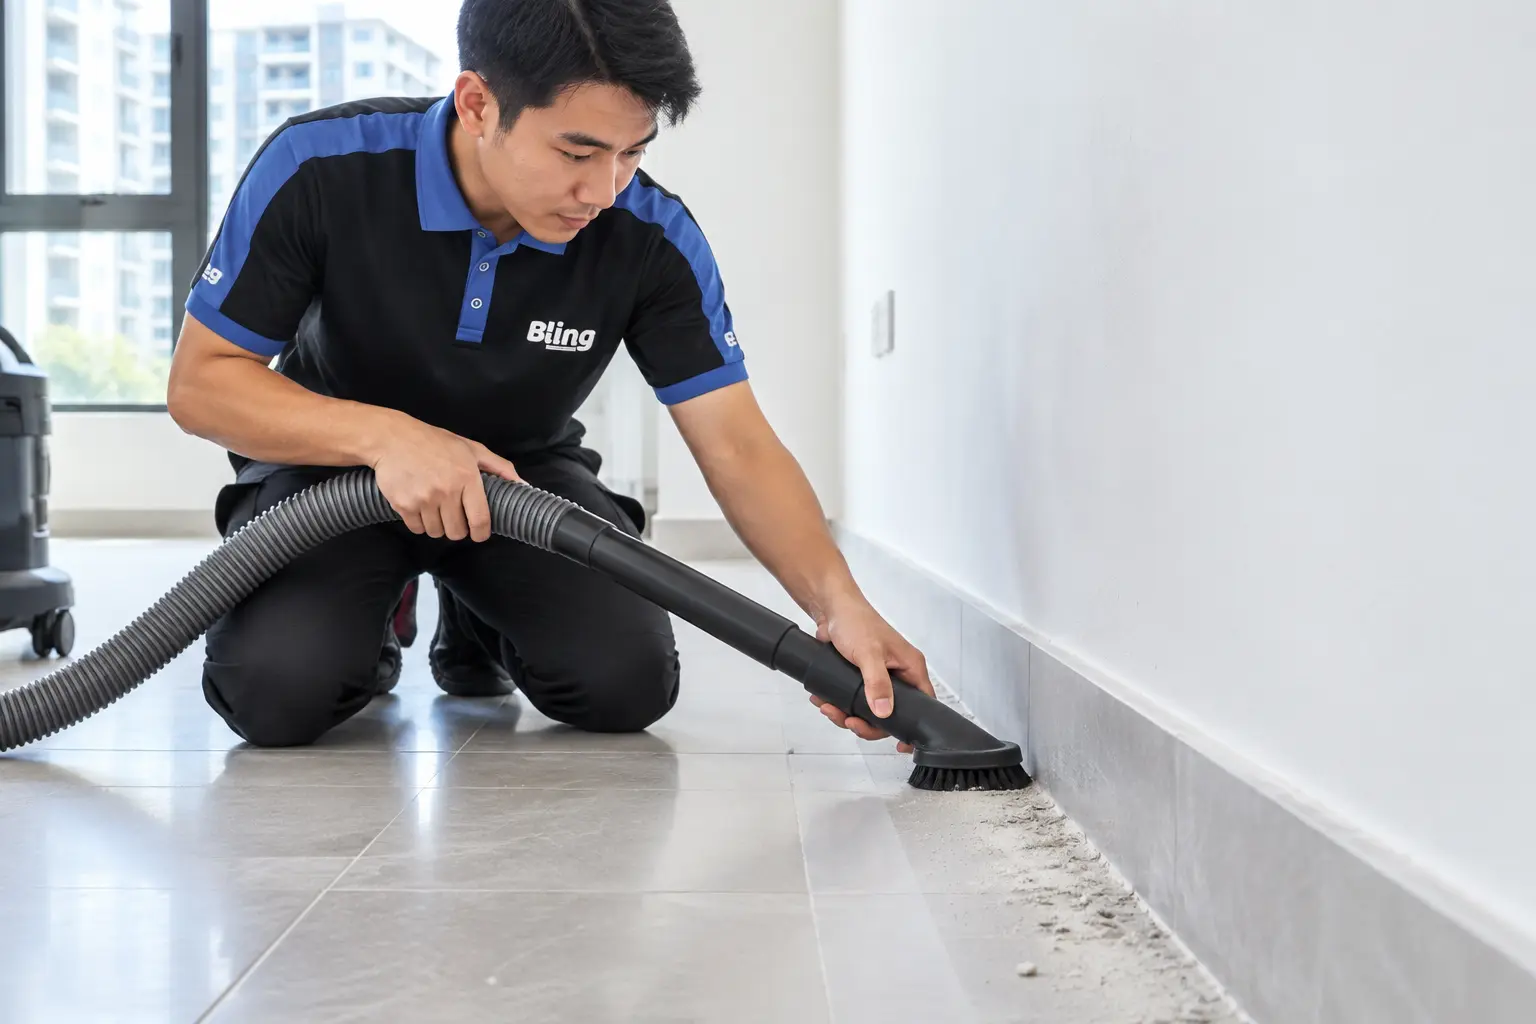
Standard wet mopping spreads cement dust into a paste that smears into grout lines and tile surfaces. Post-renovation cleaning requires dry vacuum removal first, followed by appropriate wet treatment.
Sealant and grout left by the contractor
Contractors apply silicone sealant at floor-wall junctions, around bathroom fittings, kitchen sinks and window frames. Excess squeeze-out is often left to cure and then scraped — but not perfectly. Ask the contractor to finish excess sealant and grout before the cleaning crew arrives. These specialist removals are outside MyCleanHome’s regular post-renovation cleaning scope.
Paint splatters
Painters use drop cloths, but paint still finds its way onto window frames, tile surfaces, floor edges and fittings. Fresh paint is straightforward to remove; dried paint on porous surfaces or grout is considerably harder.
Tile haze and grout residue
After tiles are laid and grouted, a thin haze of grout residue remains on the tile surface. This is normal — it's cleaned during tiling work, but imperfectly. Left untreated, grout haze becomes harder to remove over time. Ask the tiler about removing grout haze. Acid washing is outside our post-renovation cleaning scope.
Construction debris and packaging
Tile offcuts, packaging materials, wire pieces, plumbing fittings — contractors vary considerably in how clean they leave the site.
Inside air-conditioning trunking
One of the most commonly missed areas. If AC trunking was installed or modified during renovation, the interior trays collect significant plaster and cement dust. This gets blown directly into your living space when the AC is first switched on.
Key point: Your contractor's scope of work is to complete the renovation — not to clean the unit to a habitable standard. The assumption is that a cleaning team will follow. This is industry standard in Singapore.
2. The health risks of renovation dust
This section matters more than most homeowners realise. Singapore homes — especially HDB flats — are relatively airtight. Renovation by-products that remain in the space after work is completed don't simply disappear.
Silica dust — the invisible respiratory risk
Concrete, cement, bricks and tiles all contain crystalline silica. When these materials are cut or drilled, they release fine silica particles that are small enough to penetrate deep into the lungs. The health condition associated with repeated silica inhalation — silicosis — is irreversible.
For a homeowner moving in after renovation, one-time exposure is unlikely to cause silicosis, but the precaution is worth taking: ensure the unit is properly cleaned and ventilated before occupancy, and do not allow children or vulnerable family members into the space while renovation dust is still present.
VOCs from new finishes — formaldehyde off-gassing
New laminate flooring, MDF carpentry, adhesives, paints and varnishes all off-gas volatile organic compounds (VOCs) as they cure. Formaldehyde is the most common and most studied of these. In a sealed, air-conditioned Singapore apartment with brand new carpentry, VOC levels can be significantly elevated for weeks to months after renovation completion.
Symptoms of VOC exposure include eye, nose and throat irritation, headaches, and dizziness. Those most at risk are infants, elderly residents and people with respiratory conditions.
Post-renovation cleaning alone doesn't remove VOCs from the air — that requires ventilation (open windows, run fans, air purifiers with activated carbon filters). Some cleaning companies offer formaldehyde testing and removal services as an add-on. For units with extensive new carpentry, this is worth considering.
Gypsum and drywall dust
Less common in older HDB units but present in newer condominiums and landed properties. Gypsum dust is not acutely toxic but is a respiratory irritant and — like cement dust — spreads further with improper wet cleaning.
Practical advice: Do not move furniture and soft furnishings into a post-renovation unit before it has been professionally cleaned. Fabric items absorb dust particles and are significantly harder to clean once contaminated.
3. Room-by-room: what post-renovation cleaning involves
Kitchen
The most labour-intensive room in a post-renovation clean. Construction dust settles inside every cabinet, on every shelf, in every drawer. Key tasks:
- All cabinet interiors — wipe down shelves, rails, interior walls
- Hood interior and filter — construction grit must be removed before first use
- Hob and all appliance surfaces
- Sink, tap and basin — accessible dust and surface marks around fittings
- Countertops — accessible dust and routine wipe-down
- Backsplash tiles — routine surface cleaning
- Floor — dry vacuum then wet mop with appropriate tile cleaner
Bathrooms
Check that the contractor has completed grout and sealant finishing first. Routine cleaning tasks include:
- All accessible tile surfaces — dust and routine wipe-down
- Toilet, basin, shower fittings — remove packaging labels, clean fitting surfaces
- Accessible edges and fittings — surface dust
- Mirror and glass shower screens
- Floor drain — clear construction debris
Bedrooms
Easier than kitchen and bathrooms but don't underestimate dust settlement in wardrobe interiors and on air-con trunking. Key tasks:
- All wardrobe interiors — dust settles on every shelf and rail
- Ceiling fan / light fittings
- AC trunking — wipe exterior and interior tray if accessible
- Window tracks and sills
- Floor — vacuum then mop
Living and dining areas
- All flooring — the largest surface area, often worst affected
- Skirting boards — dust collection point, often paint-spattered
- Window frames and tracks — common paint splatter and dust accumulation
- Any built-in carpentry (TV console, display shelves) — all interior surfaces
Utility and yard areas
- Washing machine area — drum, hose connections
- Yard drain and drain cover
- Service yard floor and walls
4. When to book — and in what order
Timing the post-renovation clean correctly matters. Book it too early and the clean may need to be redone. Book it too late and you're waiting to move in.
Ideal timing: 2–3 days after contractor handover, after all fitting and carpentry work is confirmed complete. Check that the contractor has completed all sealant and finishing work before cleaning begins.
What should happen before the clean:
- All renovation work — including touch-ups — completed and signed off
- Contractor has removed their tools and debris
- Silicone applications have had at least 24 hours to cure
- AC units have been commissioned (or can be commissioned after the clean)
What should happen after the clean, before move-in:
- Ventilate the unit for 1–2 weeks if possible (open windows daily)
- Consider formaldehyde testing if extensive new carpentry was installed
- Move soft furnishings and bedding in last — after the space has aired out
Renovation sequence tip: If you're getting curtains or blinds fitted, do the post-renovation clean first. Having fabric window treatments fitted before cleaning means they'll absorb dust during the clean.
5. DIY vs professional post-renovation cleaning
Can you do post-renovation cleaning yourself? Technically yes. Practically, it's a bad idea for most homeowners — and here's why:
Equipment limitations: Proper post-renovation cleaning requires a HEPA vacuum (to capture fine particles rather than recirculating them into the air), commercial-grade degreasers, surface-appropriate cleaning products. Consumer-grade mops and household sprays are not adequate.
Time: A 4-room HDB post-renovation clean takes a professional team of 2–3 people typically 6–8 hours. DIY, for one or two people without professional equipment, would take a full weekend — minimum.
The wrong cleaning method makes it worse: Wet mopping cement dust without vacuuming first pushes it into grout lines, where it sets. Using the wrong solution on tile surfaces can etch them. Leave sealant removal and acid washing to the appropriate specialist. Professional cleaners know the sequence and the correct products for each surface.
The verdict: Post-renovation cleaning is the one clean worth outsourcing. The cost of professional cleaning is a rounding error compared to your renovation budget — and it protects the surfaces and finishes you've just paid to install.
6. What to look for in a post-renovation cleaning company
Not all cleaning companies are equipped to do post-renovation work well. Here are the questions to ask:
- Do they use HEPA vacuums? Standard vacuums recirculate fine dust back into the air. A HEPA filter captures particles down to 0.3 microns — essential for renovation dust.
- Do they provide a written scope? "Post-renovation cleaning" means different things to different companies. Ask for the full scope in writing before booking — what rooms, what specifically is included.
- Are the cleaners their own employees or marketplace freelancers? Post-renovation cleaning requires trained technique. Random freelancers vary enormously in quality and equipment.
- Is the price fixed or subject to on-site revision? Some companies quote low and then add charges on the day after seeing the condition. Ask for a fixed-price confirmation.
- Do they carry insurance? If a cleaner accidentally damages new tiles or fittings, you want to know that liability is covered.
7. What does post-renovation cleaning cost in Singapore?
Prices vary by property size, condition and scope. As a reference point for 2026:
- 3-room HDB: $280–$350
- 4-room HDB: $350–$450
- 5-room / EA HDB: $450–$550
- 2-bedroom condo: $350–$450
- 3-bedroom condo: $450–$600
Be wary of prices significantly below these ranges — they typically reflect a reduced scope (not all rooms, not all surfaces) or inadequate equipment. The difference between a $180 clean and a $350 clean on a 4-room HDB is usually whether the team is using consumer equipment and skipping hidden areas, or professional equipment covering the full scope.
Value framing: A 4-room HDB renovation typically costs $50,000–$100,000. The post-renovation clean that protects all those new surfaces costs less than 0.5% of that budget. It's not an area to optimise on price.
Get a fixed quote for your post-renovation clean
WhatsApp us your property size and expected handover date. We'll reply with a fixed price during working hours.
WhatsApp for a Quote